With Discord’s screen sharing feature, you can show your computer screen to someone in real-time during a voice chat.
The possibilities are endless, whether it’s live game commentary, sharing presentation materials, watching videos with friends, or taking online classes!
This article will introduce how to share your screen on Discord on MacOS, step by step with images.
Screen Sharing Scope
- Entire Screen: Share the entire desktop
- Application Window: Share a specific application window
- Specific Application: Share the entire application
How to Share Your Screen on MacOS
- Join a Voice Channel: Join a voice channel that has screen sharing permissions.
- Click the Screen Sharing Icon: Click the screen sharing icon on the toolbar at the bottom of the screen.
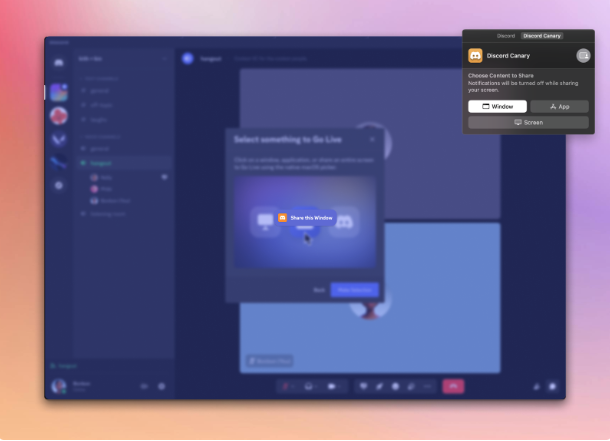
- Select What to Share:
- Screen: Share the entire desktop.
- Application Window: Share a specific application window.
- Application: Share a specific application.
- Select Stream Quality: Select the resolution and frame rate.
- Resolution: Select the screen resolution.
- Frame Rate: Set the number of frames to display per second. The higher the number, the smoother the video, but if the connection speed is slow, it is more stable to lower the number. Once you have selected, click “Next.”
- Select What to Share: From your MacOS device, accurately select what you want to share. Click “Create Selection” and select what you want to share.
- Start Screen Sharing! This will start screen sharing on your MacOS device in the Discord app!
Use Screen Sharing More Conveniently! Introducing Additional Features
- Audio Sharing: You can share the computer’s audio at the same time as screen sharing. This is useful when you want to let the other person listen to videos or music.
- Camera Sharing: You can share your camera image at the same time as screen sharing. This is useful when you want to share your screen while showing your reactions.
- Transfer Control: You can transfer control to another user while screen sharing. This is useful for collaborative work or when you want to teach the other person how to operate a computer.
Troubleshooting
Q. The other person cannot hear the audio during screen sharing.
A. In Discord settings, check that the audio input device is set correctly. Also, in the “Voice & Video” settings, try turning on “Capture audio from applications using experimental method” in the “Screen Share” section.
Q. The image quality of screen sharing is poor.
A. This can be improved by adjusting the stream quality. Also, check your internet connection environment and make sure that the connection speed is stable.
Q. I cannot share my screen.
A. Make sure that your Discord app is the latest version. Also, check that the Discord app has been granted screen recording permission in your MacOS privacy settings.
Conclusion
This article has explained in detail how to share your screen on Discord on MacOS, from the basic steps to additional features and troubleshooting.
By using the screen sharing function, communication on Discord becomes even more convenient and fun. Please try screen sharing using this article as a reference.